Step 20: Outfitting
After the varnish was all dry there was really only one more series of things to do: outfitting (attaching the foot pedals, grab loops, seat, backrest, hip pads and finishing the hatch covers).
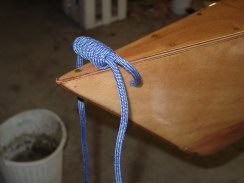
First I tied on the grab loops through the holes I had drilled earlier (the end pours keep it watertight). I made the grab loops out of 6 mm static cord (intended for rock climbing). I tied a double fisherman's knot with three wraps from each end (6 total) so that it would be wide enough to be comfortable on your fingers when carrying the kayak. If you don't know how to tie that knot then I refer you to a knot book because it is too complicated to explain here.
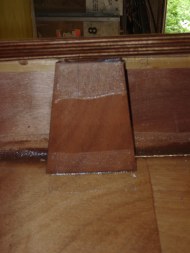
Turning to the cockpit, I had to install the hip braces which are cut out of 4 mm plywood. I sealed them with epoxy and fiberglassed them into place at both top and bottom. I actually did this step during the varnishing process so I wouldn't have to wait for it to dry.
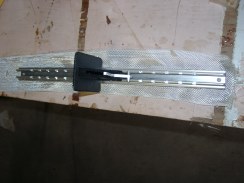
Next, it was time to install the foot pedals. I started out by sanding the plastic pedals a bit where they slide in the track so they would slide more easily. Also I roughed up the bottom of the metal so it would adhere to the wood better:
I both epoxied and screwed them in place. I had already drilled holes for them in the proper position before varnishing. I made sure they lined up and made a small correction in one hole. Then I cut strips of fiberglass to go underneath them for added strength:
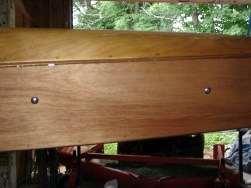
I epoxied the fiberglass in place and then after applying some thickened epoxy to the back of the track I screwed them in place from the exterior. I put a little epoxy on the screw threads so they would be watertight.
The next step was to attach the back rest. I attached the nylon straps and elastic cords with screws to the sheer clamps and underside of the coaming respectively.
As you can see I ran the nylon straps to the outside of the hip braces because that is how it was shown in the instructions. This later turned out to be a mistake because the hip braces became unattached at the top due to the inward force exerted on them by the straps. To avoid this I would advise either running the straps on the inside of the hip braces or cutting them shorter and attaching them to the outside but further aft in such a way that the straps will not contact the braces when the backrest is in use.
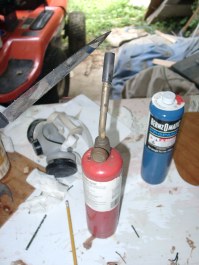
I used a knife heated with a blowtorch to cut the nylon which worked really well:
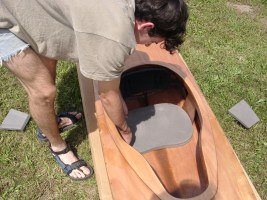
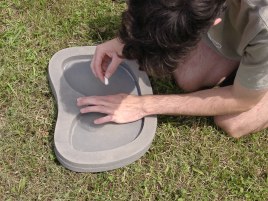
Next, I took the kayak outside and figured out where I wanted the seat positioned. The seat is made of two pieces of foam, the upper one is solid and the lower one is like a big oddly shaped donut. I traced around them with chalk so I could easily get them back to the position I wanted:
Then I applied contact cement to both the foam pieces and to the cockpit in those places where I wanted the foam.
I let it dry for fifteen minutes and then pressed the seat and hip braces pieces into place. You are supposed to use your full body weight to get good adhesion:
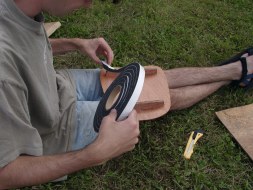
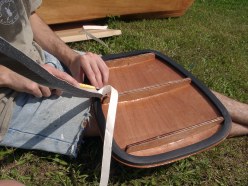
Next it was time to finish the hatches. First I stuck weather-stripping to the underside of the hatch covers around the perimeter.
It was a nice sunny day so of course I took some time to work on my tan before doing the aft cover:
The hatch covers are secured in place on top of the hatch openings using nylon straps and plastic buckles. I figured out where I wanted them positioned, drilled holes into the sheer clamps through the deck, and screwed them into place with brass screws and finishing washers:

 \
\I folded each nylon strap so that it would be a triple layer in the places where the screws go through it. I used a nail heated with a blowtorch to "drill" the screw-holes in the straps:
After attaching all 6 pairs of straps, securing the hatch covers in place, and cutting off the excess of the straps I discovered that the long awaited moment had arrived: My kayak was...
DONE!
total page-views for the whole site.








 \
\

