Step 18: Sealing the Deck
Now that the coamings were all attached it was time to seal the deck and prepare it for varnishing. The first step was to sand the whole deck and also the seam between the deck and the hull to make sure it was nice and smooth:
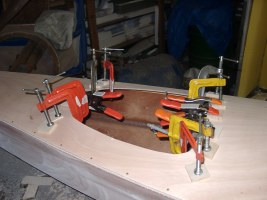
I also had to sand the coaming, the edges of the storage compartments, and the hatch covers. The inside edge of the coaming had to be sanded so that the edge of all four layers (deck, two ring-supporting pieces, and the ring) created a smooth regular surface:
Next, I had to attach some strips of 4mm plywood that run on the interior edges of the storage compartments as "hatch stiffeners." I cut them to fit just within the sheer clamps and glued them flush with the underside of the deck so that they would provide a good amount of resistance to downward pressure.
After the deck was thoroughly sanded and the hatch stiffeners attached it was time to apply two coats of unthickened epoxy.
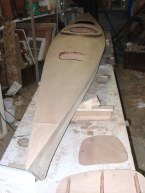
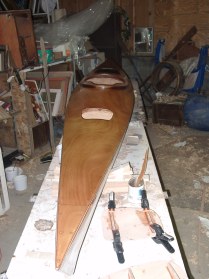
Below: All ready to be epoxied.
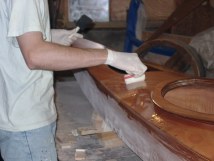
The two coats of epoxy serve to seal the deck against moisture as well as strengthening it. The deck doesn't get fiberglassed. I applied the epoxy with a roller and then "tipped out" the bubbles with a brush to leave a smooth shiny finish (I later realized that I didn't need to be quite as meticulous as I had been because the epoxy is later sanded down):
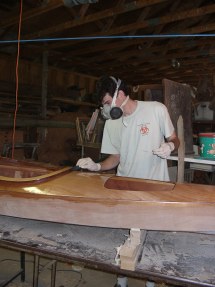
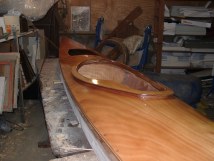
All done with the epoxy:
It looks beautiful and I haven't even varnished yet! I think I lucked out by getting deck pieces with really pretty patterns in the wood.
total page-views for the whole site.