Step 2: Preparing and Unpacking
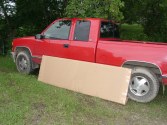
The kayak arrived in three boxes. The largest of which held the bulk of the wood and is pictured above. The other two were smaller (<2 ft x 2 ft) and held all of the accessories, plans, instructions, epoxies, and other necessary items.
The first step was to set up a good work area. 5 hours and 6 bags of trash later I had created a space for myself. I set up two eight foot tables to create a 16' long flat work space and also a system of tarps that can cover my precious unprotected wood from debris cast down upon it by rafter-dwelling creatures. You really need a space that is at least two feet longer than the kayak you are building.
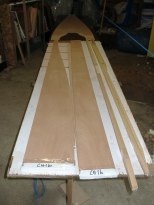
After all that was ready I unpacked the boxes:
The wood is 4 mm Marine Quality Okoume (type of African Mahogany) plywood.
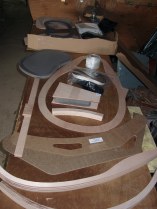
Accessories, fiberglass, epoxy, etc.
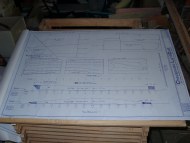
Also included were a full set of plans and two instructions booklets:
The next step was to spend several hours reading all of the material and trying to figure everything out. In general I thought they were pretty easy to understand. It turned out that even though the wood is all precut, you still need a fair number of tools. First of all you need about 15-30 clamps (but there are some instructions included on how to make cheap clamps from 4" PVC piping). Other tools you need are a block plane, a random orbital sander, a drill, wire-cutters, pliers and a hammer. Luckily I had all of these except the sander which I had been looking for a good excuse to buy. You also need a lot of other supplies but I will just mention them when I get to them. Now to really get started!
total page-views for the whole site since July 17, 2000.